
How To Reset Engine Light On 2003 Jeep Liberty: Easy Guide
 Reading Time: 10 minutes
 For a U.S.-market 2003 Jeep Liberty, reset the check engine light with a compatible OBD-II scanner after diagnosing and correcting the problem that triggered it. Connect the scanner to the diagnostic port under the driver’s side dashboard, turn the ignition ON without starting the engine, save the trouble codes, and select the scanner’s erase-code function.
If the check engine light is flashing, do not treat it as a reset problem. A flashing light can indicate a misfire that may damage the catalytic converter. Reduce engine load, pull over safely, and arrange diagnosis. If the engine runs roughly, loses power, or continues flashing, shut it off and consider towing.
clearing the light does not repair the vehicle. It also resets emissions-readiness information, which matters if your Liberty is due for an emissions inspection in a U.S. state or county that requires one.
What You Need to Know Before Resetting the Light
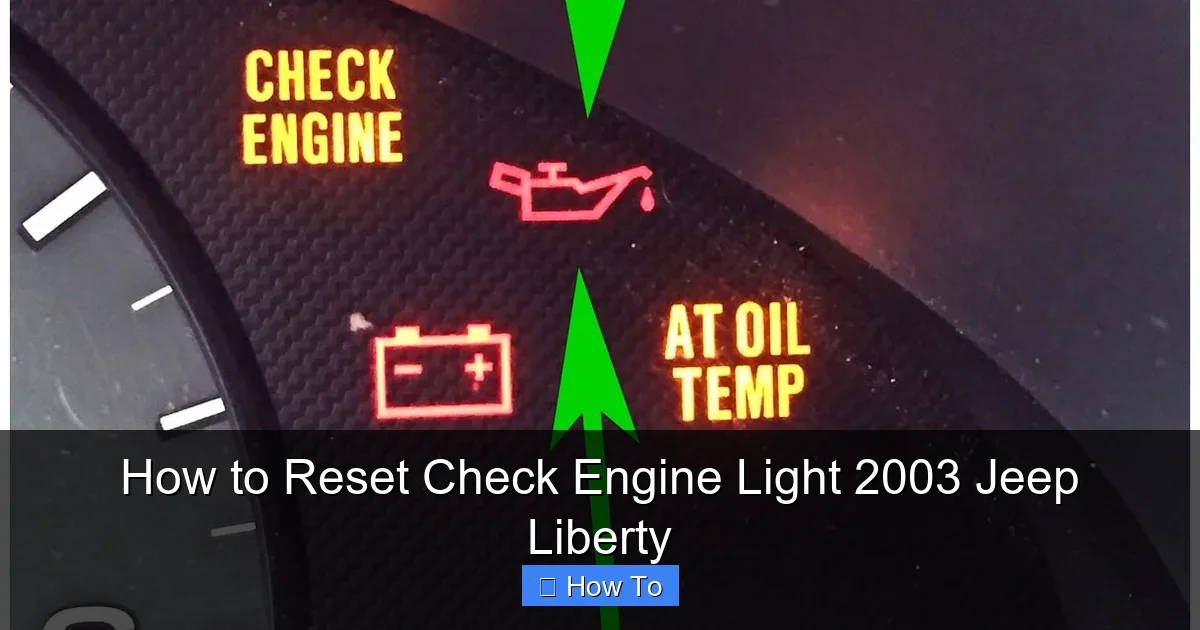
The check engine light—also called the malfunction indicator lamp, or MIL—means the engine-management system has detected an emissions-related fault. It is not a routine oil-change reminder.
The U.S.-market 2003 Jeep Liberty uses OBD-II, the standardized onboard diagnostic system used to retrieve emissions-related trouble codes. Both the 2.4-liter four-cylinder and 3.7-liter V6 versions use this diagnostic approach.
Before you erase anything, distinguish the light’s behavior:
| Light behavior | What it may mean | Appropriate action |
|---|---|---|
| Illuminates with ignition ON and engine OFF | Normal lamp check | Start the engine and check whether it goes out |
| Remains steadily illuminated with the engine running | A detected engine-management or emissions fault | Read the codes and assess symptoms before clearing |
| Flashes while the engine runs | Potential catalyst-damaging misfire | Reduce load, stop safely, and obtain diagnosis |
| Goes out after a repair but codes remain in memory | The system may no longer be detecting the fault | Check code status and readiness; do not assume stored history means an active failure |
A steady light alone does not establish that the vehicle is safe to drive. Rough running, overheating, fuel odors, stalling, or another warning light can change the decision.
Save Codes and Diagnostic Information First
A diagnostic trouble code, or DTC, identifies the fault the computer detected. It does not necessarily identify the part that needs replacement.
For example:
- P0302 indicates a detected misfire in cylinder 2. Possible causes include ignition, fuel-delivery, or mechanical problems.
- P0455 indicates a large evaporative-emissions leak condition. A loose gas cap is one possibility, not a guaranteed diagnosis.
- P0420 indicates catalyst-system efficiency below the monitored threshold. Additional testing is needed before condemning the catalytic converter.
Also save freeze-frame data, when available. This records operating conditions around the time a fault was detected, such as engine speed, coolant temperature, and vehicle speed. Erasing codes can remove information a technician needs.
How to Reset the Check Engine Light With an OBD-II Scanner
Use a scanner that supports a 2003 Jeep Liberty, record the diagnostic information, complete the repair, and then erase the codes. This is the preferred method because it lets you investigate the problem before clearing its warning.
What You Need
- An OBD-II scanner compatible with a 2003 Jeep Liberty.
- A safe, ventilated parking location.
- A phone or notepad to save codes and diagnostic data.
- The scanner’s operating instructions.
Do not assume that a device advertised only for newer, CAN-equipped vehicles will communicate with this older Jeep. Verify compatibility with the vehicle’s model year and supported diagnostic protocol.
Step-by-Step Reset Procedure
-
Park safely.
Place an automatic transmission in Park, or a manual transmission in Neutral, and apply the parking brake. Turn the engine off. -
Locate the diagnostic connector.
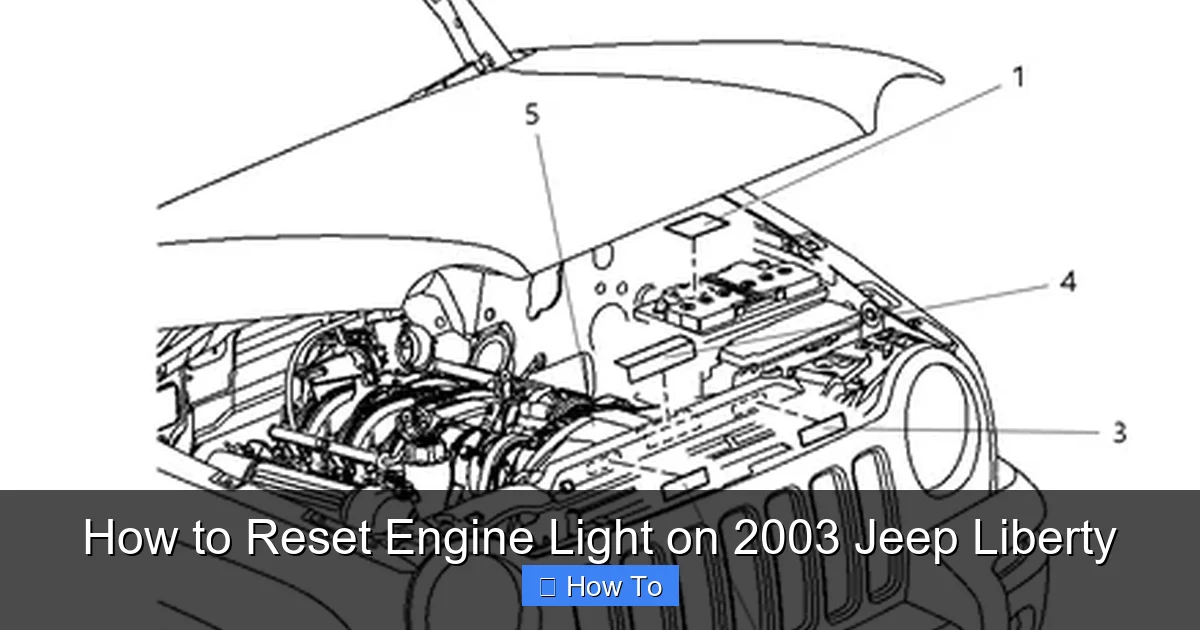
Find the 16-pin OBD-II port under the driver’s side dashboard near the steering-column area. Do not confuse it with another electrical connector. -
Connect the scanner.
With the ignition off, plug the scanner into the diagnostic port. Avoid forcing the connector. -
Turn the ignition ON without starting the engine.
Turn the key to the ON/RUN position. Follow any different sequence specified by the scanner manufacturer. -
Read and save the codes.
Record stored and pending codes, their status, and available freeze-frame information. Photographing the scanner screen can help. -
Diagnose and correct the cause.
Perform the appropriate checks for the recorded fault. If you only want to turn off the light without investigating it, stop here: erasing the warning can conceal an unresolved problem. -
Select “Erase Codes” or “Clear DTCs.”
Scanner wording varies. Confirm the operation after reviewing any warning about loss of diagnostic data and readiness status. -
Follow the scanner’s completion instructions.
Turn the ignition off if prompted, disconnect the device when appropriate, and start the engine. -
Check the result.
The light should illuminate during its normal ignition-on check and then go out with the engine running if no fault is commanding it on.
Signs the Reset Worked
The scanner reports a successful erase, and the check engine light does not remain illuminated after starting the engine.
However, a successful erase is not proof of a successful repair. Some faults return immediately; others require particular temperatures, speeds, fuel levels, or driving conditions before the computer detects them again.
Recheck for pending codes after normal driving. These can reveal a recurring fault before the warning light comes back on.
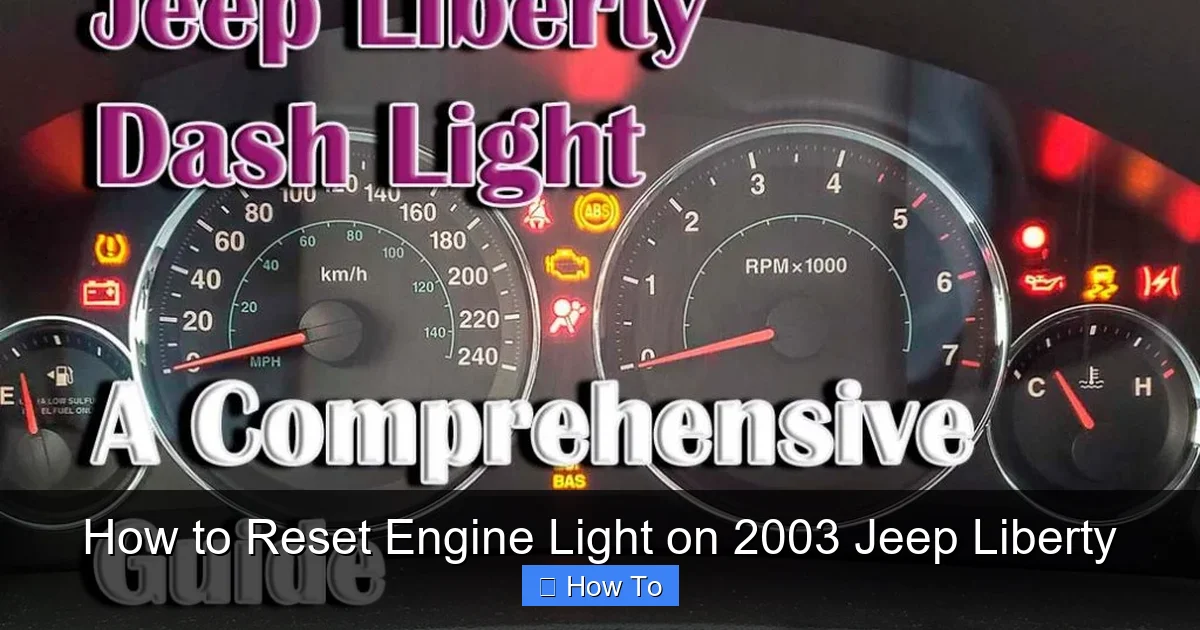
Can You Reset a 2003 Jeep Liberty Engine Light Without a Scanner?
The light may turn off on its own after the underlying fault is corrected, but there is no universal pedal or dashboard-button procedure that repairs or reliably resets a check engine fault.
An accelerator-pedal sequence associated with an oil-life reminder on another vehicle is not the correct procedure for this Liberty’s malfunction indicator lamp.
Letting the Computer Verify the Repair
After a genuine repair, the engine computer can stop commanding the light on once the applicable diagnostic conditions and successful checks are satisfied.
This does not happen on a guaranteed schedule. A short trip around the block may not run the monitor responsible for the original fault.
Allowing the system to verify a repair can also preserve useful diagnostic history that would otherwise be erased.
Why Battery Disconnection Is Not the Preferred Method
Disconnecting the battery can interrupt power and may clear some diagnostic or learned information, but it is not a dependable substitute for scanning and diagnosing the vehicle.
Potential drawbacks include:
- Losing useful fault information.
- Resetting emissions-readiness information.
- Resetting the clock or other settings, depending on installed equipment.
- Requiring the computer to relearn some operating adjustments.
- Creating electrical or battery-handling risks.
There is no single battery-disconnection waiting time that guarantees the desired result under every condition. Do not disconnect the battery with the engine running.
If battery work is necessary for a separate repair, follow the vehicle’s battery-service precautions rather than using it simply to hide a warning light.
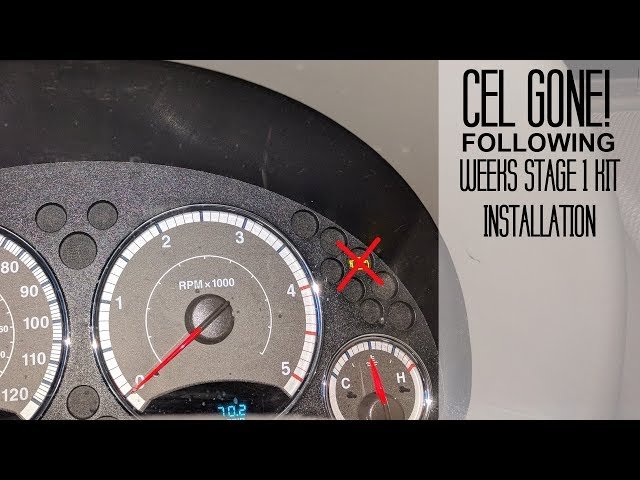
What If the Light Appeared After Refueling?
Check the fuel cap first if the light appeared after a fill-up, but read the codes before assuming the cap caused it.
The evaporative-emissions system, commonly called EVAP, controls fuel vapors. A cap that is loose, missing, damaged, or unable to seal can contribute to an EVAP fault.
Use this sequence:
- Park safely and turn the engine off.
- Remove the fuel cap.
- Inspect the cap seal and filler-neck sealing surface for visible damage or contamination.
- Reinstall the cap securely, following the tightening instructions on the cap or in the owner’s manual.
- Retrieve the trouble codes.
- If the codes concern EVAP leakage, determine whether the cap correction resolves the fault.
Do not force the cap or replace unrelated components based only on a general code description.
If tightening the cap fixes the leak, the light may still remain on until the relevant monitor runs successfully. A scanner can clear the warning after the correction, but doing so resets readiness information.
If an EVAP code returns, possible causes extend beyond the cap to hoses, valves, wiring, and other system components. A qualified shop may need to perform a smoke test and targeted electrical or functional checks.
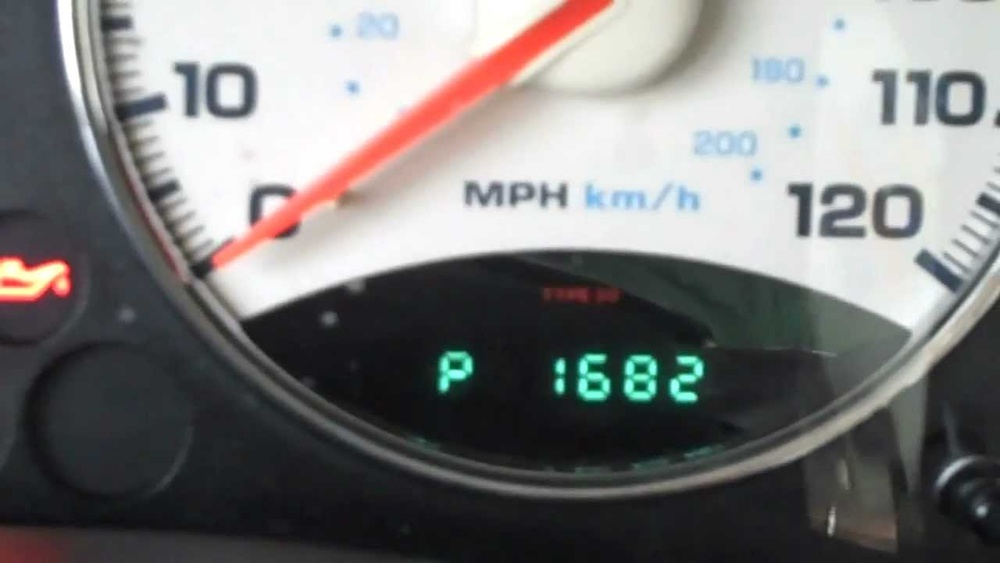
What to Do If the Engine Light Comes Back
A returning light means the fault remains, another fault exists, or the relevant diagnostic test has detected a problem again. Read the new codes rather than repeatedly erasing them.
This table helps separate symptoms from possible causes:
| What happens | Possible explanation | Next useful check |
|---|---|---|
| The light returns immediately after clearing | An active fault is detected quickly, or the erase did not complete | Confirm erase status and reread codes |
| The light returns after several trips | A monitor needed particular operating conditions to detect the fault | Compare new codes with the original records |
| The light flashes and the engine shakes | An active misfire may be occurring | Stop safely and obtain diagnosis |
| An EVAP code returns after securing the cap | The cap may not seal, or a different leak or component fault exists | Inspect and test the EVAP system |
| The scanner will not power on | Connector power, a fuse, the scanner, or the cable may be at fault | Check the scanner instructions and vehicle fuse information |
| The scanner powers on but will not communicate | Ignition position, compatibility, wiring, or module communication may be involved | Verify setup and compatibility before further electrical diagnosis |
Do not probe diagnostic-port terminals with improvised wires or bridge pins to force a reset. That can damage electronics.
Seek professional help when the Jeep runs poorly, repeatedly sets the same code after repair, will not communicate with a compatible scanner, or requires fuel-system, compression, or wiring diagnosis.
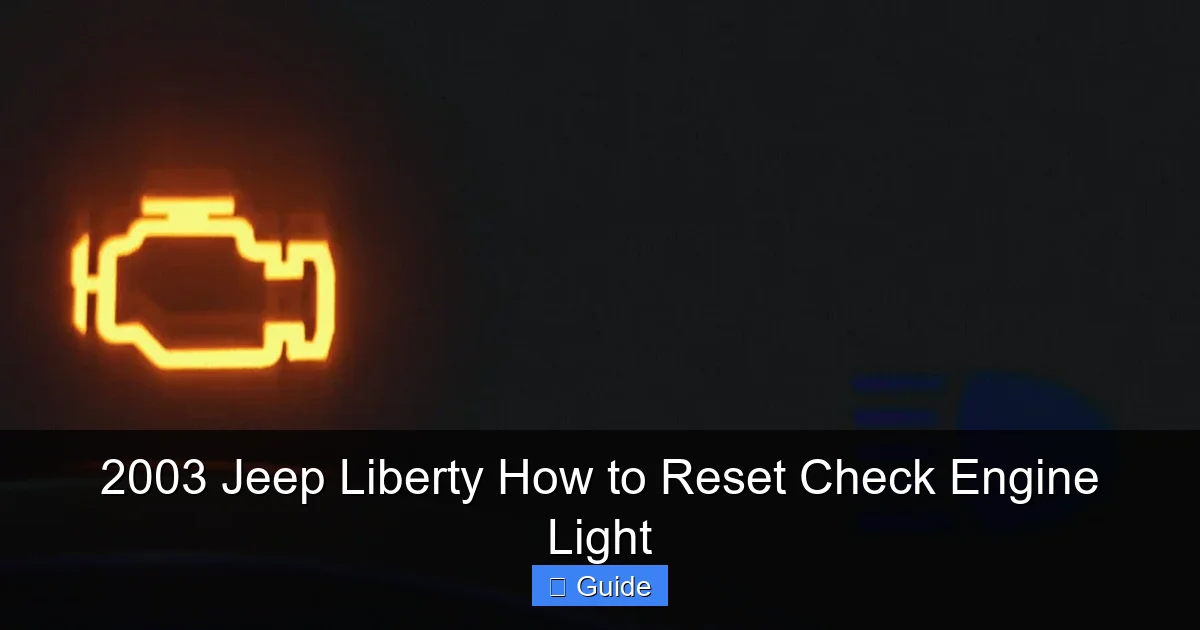
How Resetting the Light Affects a U.S. Emissions Inspection
Clearing codes shortly before an emissions inspection can leave the Jeep’s OBD-II monitors “not ready,” even when the check engine light is off.
Readiness monitors show whether the onboard system has completed its emissions checks. Erasing codes—and some power interruptions—can reset this information.
The practical distinction is:
- Light off: The computer is not currently commanding the warning lamp on.
- Monitors ready: The required diagnostic checks have completed.
- Fault repaired: Testing and subsequent operation support that the underlying problem has been corrected.
These are related, but they are not interchangeable.
Check Readiness Instead of Guessing Mileage
There is no reliable universal instruction to “drive 50 miles” or “drive 100 miles” after clearing codes. Monitor completion depends on the particular test and operating conditions.
Use a scanner’s I/M Readiness function to check progress. Some monitors may need a suitable cold start, engine temperature, fuel level, or driving pattern. A remaining fault can also prevent completion.
Do not follow an aggressive highway drive-cycle routine without verified vehicle-specific instructions and safe traffic conditions.
Inspection requirements vary by U.S. state, county, vehicle year, and program. Check your local program’s current rules for permitted incomplete monitors before presenting the vehicle for testing. If registration is due soon, diagnose the fault before erasing evidence.

Frequently Asked Questions
Can the ignition-key cycling trick clear the codes?
No. A key-cycling sequence discussed for some Chrysler vehicles is associated with displaying limited diagnostic information on certain configurations, not repairing the fault or reliably clearing codes. Availability varies; use a compatible scanner for this task.
Can an auto-parts store reset the light?
Some U.S. auto-parts stores offer code-reading services, but equipment and policies vary. A store may decline to erase codes. Reading a code also does not constitute a complete diagnosis.
Will a basic scanner read every warning on my Liberty?
Not necessarily. A generic OBD-II reader typically accesses standardized engine and emissions information. ABS, airbag, and other module faults may require equipment with additional Chrysler/Jeep coverage.
Should I Replace the Part Named in the Scanner’s Description?
Not automatically. A code can describe a circuit, system, or measured condition rather than a failed component. For example, an oxygen-sensor-related code can require checks of wiring, exhaust leaks, or fuel-control conditions before replacing the sensor.
Does Clearing Codes Remove the Need to Repair the Jeep?
No. It removes diagnostic information and may temporarily turn off the warning. An unresolved fault can return, affect drivability, increase emissions, or damage other components.
Sources, Verification Limits, and Follow-Up Coverage
This guide provides established OBD-II diagnostic principles, not a report of hands-on testing or a live competitive search. Live browsing was unavailable, so current inspection rules, scanner compatibility listings, and competing articles were not independently checked.
Relevant primary-source starting points are:
- Mopar owner’s manuals: Locate the 2003 Liberty manual for vehicle-specific warning-light, fuel-cap, fuse, and battery precautions.
- U.S. EPA onboard diagnostics information: Consult federal explanations of OBD systems and emissions-inspection use.
- Your scanner manufacturer’s instructions: Verify supported vehicles, connection procedures, and erase-function limitations.
- Your state or local emissions program: Confirm current readiness and inspection requirements.
No supplied site map was available. This article therefore serves as a standalone supporting how-to guide without inventing parent or neighboring pages.
The follow-up questions below are inferred reader needs, not verified search-demand findings. Competitor coverage is not checked.
| Next question | Reader stage and basis | Reader benefit and evidence needed | Priority and placement |
|---|---|---|---|
| Will clearing codes affect my inspection? | Before resetting; inferred from U.S. OBD inspection use | Avoid an unready inspection result; EPA guidance plus local rules | High; emissions section |
| Why did the light return? | After resetting; inferred from fault-monitor operation | Distinguish recurrence from a completed erase; saved codes and vehicle-specific testing | High; troubleshooting section |
| Will my scanner work with this older Jeep? | Before connecting; inferred from compatibility limits | Avoid a communication failure; scanner manufacturer documentation | High; prerequisites |
Conclusion
To reset the engine light on a 2003 Jeep Liberty, save the codes, correct the cause, and clear them with a compatible OBD-II scanner. Then confirm that the light stays off and check readiness if an emissions inspection is approaching.
Your next step is to read the codes before erasing anything. If the light flashes or the engine runs poorly, prioritize diagnosis and safe transportation—not a reset.