How to Change Battery Jeep Liberty 2006
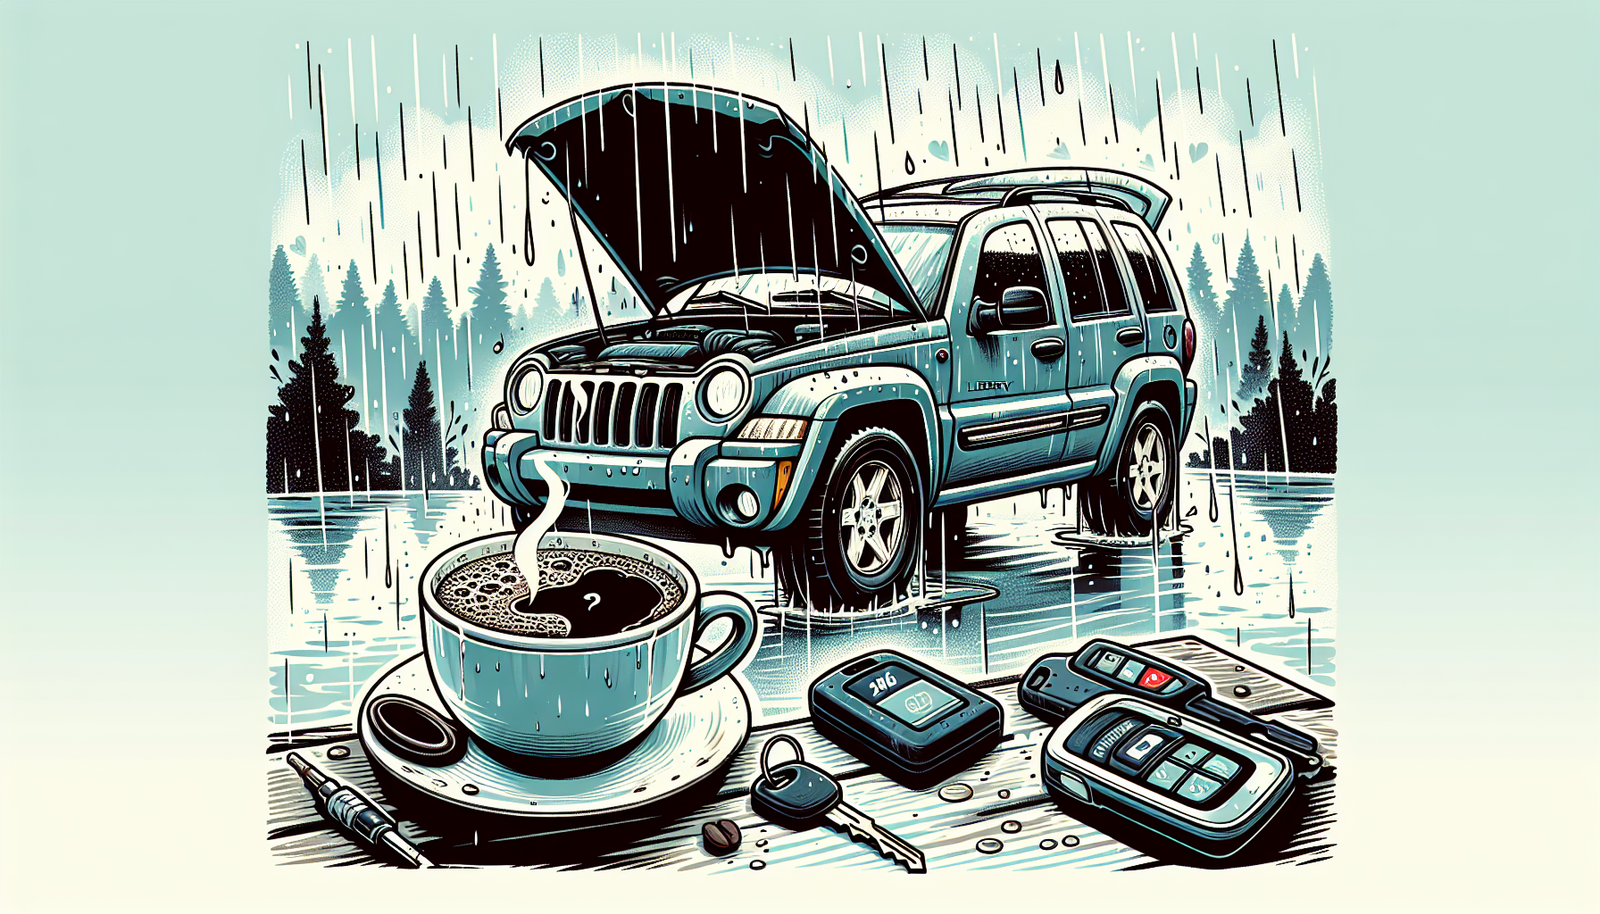
It was a rainy Tuesday morning. I had a hot coffee in one hand. My keys were in the other. I walked out to my driveway. The cold air hit my face. I got into my car. I put the key in the ignition. I turned it. All I heard was a rapid clicking sound. Click, click, click. Then nothing. The dashboard lights flickered and died. My heart sank. I was going to be late.
I sat there for a minute. I listened to the rain hit the roof. I took a deep breath. I knew what the problem was. My trusty old vehicle had finally given up. The power source was completely dead.
I could call a tow truck. I could ask a neighbor for a jump start. But I wanted a real fix. I decided to handle it myself. It was time to learn how to change battery jeep liberty 2006.
I want to share my story with you. I want to tell you exactly what I did. I will share the tools I used. I will share the mistakes I made. This is a simple guide. You can do this in your own driveway. You do not need to be a mechanic. You just need a little patience.
the Real Problem
A dead car is frustrating. It leaves you feeling stuck. But the signs are usually clear. You just have to look and listen.
My car gave me a few hints before it died. I ignored them. That was my first mistake. The engine cranked very slowly the day before. The headlights looked a bit dim that night. I thought it was just the cold weather. I was wrong.
Here is a simple look at the symptoms. This data helped me figure out what went wrong.
Symptom and Solution Data
| What I Experienced | What It Actually Meant | How I Fixed It |
| Rapid clicking when turning key | Starter lacks enough power | Replaced the dead unit |
| Dim headlights when engine is off | Low stored voltage | Checked voltage and replaced |
| White crust on the metal posts | Acid corrosion blocking power | Cleaned with baking soda |
| Engine cranks but will not start | Weak charge or fuel issue | Tested power levels first |
I popped the hood. The metal was wet and cold. I looked at the passenger side near the front. There it was. The plastic box looked old and tired. It had a thick layer of white crust on the metal posts. That is acid corrosion. It is nasty stuff. I knew right then I had to replace the whole thing.
Gathering the Right Tools
I walked back into my garage. It smelled like old oil and wet wood. I opened my red metal toolbox. The drawers squeaked. I needed specific tools for this job. I did not want to stop halfway through to find a wrench.
You do not need a fancy shop. You just need basic hand tools. Here is what I pulled out of my toolbox.
Tool Requirements and Uses
| Tool Name | Exact Size Needed | What I Used It For |
| Socket wrench | Ten millimeter | Removing the cable clamps |
| Long extension | Ten inch or longer | Reaching the bottom bracket |
| Safety glasses | Any clear style | Protecting my eyes from acid |
| Wire brush | Small stiff bristles | Scrubbing the metal parts |
I also grabbed some heavy work gloves. The metal edges inside the engine bay are sharp. I learned that the hard way on a past project. I scraped my knuckles badly. I did not want to repeat that mistake today.
I grabbed a shop rag. I also grabbed a little bit of baking soda and a cup of water. I use this mix to clean up the acid crust. It bubbles up and eats the acid away. It is a neat little trick.
Picking the Right Replacement
I had to go to the auto parts store. My neighbor gave me a quick ride. I stood in the aisle looking at a wall of plastic boxes. It was confusing at first.
You cannot just buy any box. You need a specific size. For my car I needed a Group Size 34. This size fits perfectly into the plastic tray under the hood.
I also had to look at Cold Cranking Amps. We call this CCA. This number tells you how much power it has to start a cold engine. I bought one with 800 CCA. I live in an area that gets chilly. I wanted to make sure it would start every single time. The new unit felt very heavy. It weighed over forty pounds. I carried it out to my neighbor’s car. My arms were tired.
Step by Step: How to Change Battery Jeep Liberty 2006
We drove back to my house. The rain stopped. The sky was still gray. I set the heavy new box on the ground next to my front tire. I put on my safety glasses. I slipped my thick gloves on. I was ready to begin.
Removing the Negative Cable First
This is the most important rule. You always take the negative side off first. The negative side is the black wire. It usually has a minus sign near it.
Why do we do this? If your wrench touches the metal car body while on the negative post nothing happens. If you touch the metal body while on the positive post you create a massive spark. You could melt your wrench. You could start a fire. I was very careful.
I took my ten millimeter socket. I put it over the nut on the black cable. I turned it to the left. Lefty loosey. Righty tighty. The nut was stiff. I pushed hard. It finally gave way with a small squeak. I wiggled the clamp back and forth. It popped off. I tucked the black wire far away down the side. I did not want it touching the metal post again.
Removing the Positive Cable Second
Now it was time for the red wire. This is the positive side. It has a plus sign near it. It had a lot of that white fuzzy crust on it.
I used my socket wrench again. I loosened the nut. The crust made it hard to wiggle off. I took my wire brush. I scrubbed some of the white powder away. I tried again. The clamp finally broke free. I pulled it up. I moved the red wire out of the way.
Taking Out the Hold Down Bracket
The plastic box does not just sit there. A bracket holds it tight. This keeps it from bouncing around when you drive over bumps.
I looked down the side of the box. I saw a small bolt way down at the bottom. This is where I needed my long socket extension. I clicked the extension onto my wrench. I guided the socket down into the dark space. I felt it grab the bolt head. I turned my wrench. It took a few turns. The bolt came out. I pulled the small plastic wedge out.
Lifting the Heavy Box
Now the old unit was free. But it was stuck in a tight space. And it was very heavy. I braced my feet against the wet driveway. I leaned over the fender. I grabbed the little plastic handle on top.
I pulled straight up. My back muscles burned. The box dragged against a hose. I twisted it slightly to the left. It cleared the engine bay. I set it down on the wet concrete. I breathed a huge sigh of relief. Half the job was done.
Cleaning the Area
The plastic tray in the car was dirty. It was full of dead leaves and dirt. It also had some spilled acid. I took my cup of water and baking soda. I poured it into the tray. It fizzed up loudly. This neutralized the dangerous acid.
I wiped it all clean with my shop rag. I also took my wire brush. I scrubbed the inside of the metal wire clamps. I scrubbed until the metal looked shiny and clean. Clean metal gives you a strong electrical connection. A dirty connection will leave you stranded again.
Putting the New Power Source In
I picked up the new heavy box. I walked over to the fender. I lowered it slowly into the clean tray. I had to make sure it faced the right way. The red post must line up with the red wire. The black post must line up with the black wire. If you put it in backward you will ruin your electrical system. I checked it twice.
I grabbed the plastic hold down wedge. I used my long extension to guide the bolt back down to the bottom. I turned it to the right. I tightened it until the box would not move at all. You want it snug.
Attaching the Positive Cable First
When putting things back together you reverse the order. Always put the red positive cable on first.
I pushed the red clamp down onto the metal post. I pushed it down as far as it would go. I used my ten millimeter wrench. I tightened the nut. I pulled on the wire to make sure it was tight. It did not move. That is exactly what you want.
Attaching the Negative Cable Last
I grabbed the black wire. I brought it over to the negative post. As I pushed it down a tiny blue spark popped. I jumped a little. But this is completely normal. It just means the car is drawing power again.
I tightened the ten millimeter nut on the black clamp. I checked it to make sure it was secure. I wiped my hands on my rag. The job was essentially done.
The Moment of Truth
I closed the hood of the car. It made a loud solid sound. I walked over to the driver door. I opened it and sat down. The seat felt cold. The steering wheel felt damp.
I put the key into the ignition. My heart beat a little faster. I hoped I did everything right. I turned the key.
The engine roared to life instantly. There was no hesitation. The dashboard lights glowed bright and strong. The radio started playing my favorite station. I smiled a big goofy smile. The feeling of fixing it myself was amazing. I saved money. I learned a new skill. I felt very proud of myself.
Mistakes You Should Try to Avoid
Looking back I did a good job. But I almost made a few silly errors. I want to share these failures so you can avoid them. Building your own skills means learning from others.
I almost dropped the bottom hold down bolt. It is very small. If you drop it into the engine bay it is very hard to find. It can fall onto a shield underneath the car. Always keep a tight grip on that bolt. A magnetic socket helps a lot with this.
I also did not wear my gloves right away. I scraped my thumb when taking off the first wire. The metal edges are sharp. Always put your gloves on before you start turning wrenches.
I also forgot to reset my radio clock. When you unhook the power the car forgets the time. It also forgets your saved radio stations. This is normal. You just have to spend five minutes setting things back up. The car might also run a little rough for the first few miles. The computer has to relearn how to mix the fuel and air. Do not panic if it idles weird at first. It will smooth out.
What to Do With the Old Part
You cannot just throw the old heavy box in your trash can. It is full of lead. It is full of dangerous acid. It is very bad for the earth.
I put the old unit in the trunk of my car. I drove back to the auto parts store. I gave it to the man behind the counter. He took it away to be recycled safely. He even gave me twenty dollars back. They call this a core charge. It is a reward for recycling. So you fix your car and you get a little money back. It is a great deal.
Final Thoughts on the Driveway Fix
The rain started falling again as I drove home. But I did not care. My heater worked great. My headlights were bright. I felt safe.
Knowing how to change battery jeep liberty 2006 gives you freedom. You do not have to wait for a tow truck. You do not have to pay a mechanic for a simple job. You get to know your vehicle on a deeper level. Every time I start my engine now I feel a little bit of pride.
I highly recommend trying this yourself. Go slow. Follow the safety rules. Take your time. Enjoy the process of working with your hands. You will get greasy. You might get a little frustrated. But the reward is totally worth it. The next time you hear that clicking sound you will know exactly what to do. You will grab your red toolbox. You will walk out to the driveway. And you will conquer the problem.