How to Easily Remove Jeep Wranglers Rear Drive Shaft: Quick Guide
If you own a Jeep Wrangler, you know how important it is to keep it in top shape, especially when it comes to the drivetrain. Removing the rear drive shaft might sound complicated, but with the right steps, you can do it easily and safely.
Whether you’re planning a repair, upgrade, or just want to understand your vehicle better, this guide will walk you through the process clearly and simply. By following these tips, you’ll save time, avoid common mistakes, and gain confidence working on your Jeep.
Ready to get your hands dirty and master this essential task? Let’s dive in!
Tools Needed
Removing the rear drive shaft on a Jeep Wrangler requires the right tools. Having these tools ready makes the job easier and safer. This guide lists all the essential tools you need before starting.
Socket Set
A good socket set is crucial for loosening bolts. Use sockets that fit the drive shaft bolts perfectly. This prevents stripping or damaging the bolts during removal.
Wrench Set
Open-end or box wrenches help hold nuts in place. They are useful for tight spots where a socket wrench cannot reach. Choose a set with various sizes for flexibility.
Pry Bar
A pry bar helps to gently separate the drive shaft from the axle flange. Use it carefully to avoid damaging components. It provides the leverage needed to loosen stuck parts.
Torque Wrench
Reinstalling the drive shaft requires bolts tightened to the correct torque. A torque wrench ensures bolts are tightened evenly and safely. This tool protects against over-tightening or under-tightening.
Jack And Jack Stands
Lift the Jeep safely using a reliable jack. Secure the vehicle with jack stands to prevent movement. Never work under a vehicle supported only by a jack.
Drain Pan
Removing the drive shaft may cause some fluid to leak. Place a drain pan under the drive shaft to catch any fluid. This keeps the work area clean and prevents spills.
Credit: spicerparts.com
Safety Tips
Safety is the top priority when removing the rear drive shaft of a Jeep Wrangler. Taking proper precautions protects you and your vehicle from harm. Follow simple safety tips to ensure a smooth and secure process.
Working under a vehicle can be risky without the right setup. Use sturdy equipment and maintain a clean workspace. This reduces the chance of accidents and keeps the task manageable.
Use Proper Jack Stands
Never rely on a jack alone to support your Jeep. Place the vehicle on level ground. Use heavy-duty jack stands to hold the weight. This prevents the vehicle from falling unexpectedly.
Wear Safety Gear
Protect your eyes with safety glasses. Gloves help avoid cuts and scrapes. Closed-toe shoes keep your feet safe from falling tools or parts. Dress in comfortable clothes that cover your skin.
Disconnect The Battery
Remove the negative battery cable before starting. This stops accidental electrical shorts. It also prevents the vehicle from starting while you work.
Keep A Clean Work Area
Clear away oil, grease, and clutter. A tidy space prevents slips and trips. Organize tools within easy reach to avoid stretching or awkward movements.
Use The Right Tools
Select tools designed for automotive work. Using the wrong tool can cause damage or injury. Check tools for wear or defects before use.
Preparing The Jeep
Preparing your Jeep Wrangler is the first step to remove the rear drive shaft safely. This ensures a smooth and damage-free process. Proper preparation saves time and effort.
Before starting the removal, the Jeep must be stable and fluids managed. These steps protect you and the vehicle.
Securing The Vehicle
Park the Jeep on a flat, solid surface. Use wheel chocks on the front tires. This stops the vehicle from rolling.
Engage the parking brake firmly. Place the Jeep in park if it has an automatic transmission. For manual, leave it in gear.
Lift the rear of the Jeep using a jack. Support it with sturdy jack stands under the axle. Never rely on the jack alone.
Check stability by gently shaking the vehicle. It should not move. A secure Jeep prevents accidents during work.
Draining Fluid
Locate the rear differential drain plug. Place a drain pan beneath it to catch fluid. This prevents spills on the ground.
Remove the plug carefully. Allow the fluid to drain completely. This reduces pressure and avoids leaks when removing the drive shaft.
Inspect the fluid for metal shavings or debris. This can indicate wear or damage inside the differential.
After draining, replace the plug securely. Cleaning the area around the plug helps prevent dirt from entering.

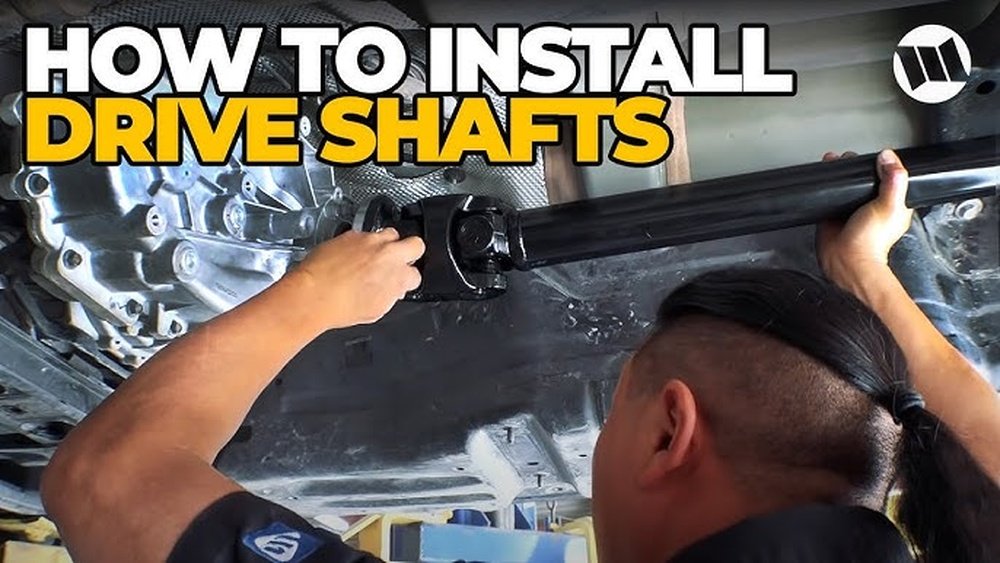
Credit: www.youtube.com
Locating The Rear Drive Shaft
Removing the rear drive shaft on a Jeep Wrangler is a task that requires some basic tools and careful steps. This part connects the transmission to the rear axle, allowing power transfer to the wheels. Taking it off correctly prevents damage and makes future repairs easier. Follow these simple steps to safely remove the rear drive shaft.
Unbolting The Flange
Start by locating the flange where the drive shaft connects to the rear axle. Use a wrench or socket to remove the bolts holding the flange. Turn each bolt counterclockwise until it comes loose. Keep the bolts in a safe place for reinstallation. Avoid forcing the bolts to prevent stripping or damage.
Separating The U-joints
Next, focus on the universal joints (U-joints) at both ends of the drive shaft. These allow flexibility during movement. Use a pry bar or flat tool to gently separate the U-joints from their yokes. Be careful not to damage the seals around the joints. If the joints feel stuck, apply some penetrating oil and wait a few minutes.
Freeing The Drive Shaft
With the flange unbolted and U-joints separated, carefully slide the drive shaft away from the rear axle. Support the drive shaft as you pull it to avoid dropping it. It may be helpful to twist slightly to release it from tight spots. Place the drive shaft on a clean surface to prevent dirt or damage during storage.
Removing The Rear Drive Shaft
Removing the rear drive shaft from a Jeep Wrangler can be tricky, especially when parts stick tightly. Stubborn components often hold on due to rust, dirt, or long use. Patience and the right tools help to loosen these tough parts safely. Avoid forcing parts too hard to prevent damage.
Using simple tools with gentle force can free stuck components. Two effective methods include using pry bars and tapping with a rubber mallet. Both provide controlled pressure to ease the drive shaft loose without harm.
Using Pry Bars
Pry bars give leverage to separate stuck parts. Place the pry bar carefully between the drive shaft and the flange. Apply slow, steady pressure to avoid bending or breaking parts. Move the bar gently around the joint to loosen rust and dirt. Work evenly from different angles for best results. Small movements often break the seal holding the drive shaft tight.
Tapping With Rubber Mallet
A rubber mallet helps tap parts loose without damage. Lightly tap the drive shaft near the joint where it connects to the axle. Focus on even, gentle hits. Avoid heavy force that can harm the shaft or surrounding parts. The vibration from tapping breaks rust bonds and loosens stuck areas. Repeat tapping slowly while checking if the drive shaft starts to move. This method works well with the pry bar technique for stubborn parts.
Dealing With Stubborn Parts
Before removing the rear drive shaft on your Jeep Wrangler, inspect all related components carefully. This step ensures safety and prevents damage. Pay close attention to parts that connect and support the drive shaft. Early detection of wear or damage saves time and money later.
Inspecting components means checking each piece for signs of wear or failure. Look for cracks, rust, or looseness. Confirm that all parts move smoothly without unusual noise or resistance. Proper inspection helps keep your Jeep running smoothly.
Checking U-joints
U-joints connect the drive shaft to other parts of the drivetrain. They allow the shaft to move while transferring power. Check U-joints for rust, cracks, or play in the joint. Grab the U-joint yoke and try to move it side to side. Any looseness means the U-joint needs replacement. Listen for clicking or grinding sounds when rotating the joint. Damaged U-joints cause vibrations and can fail while driving.
Examining Seals And Flanges
Seals keep dirt and fluid from entering the drive shaft area. Flanges connect the shaft to the axle and transmission. Inspect seals for cracks, leaks, or hardening. Leaking seals cause fluid loss and dirt buildup. Check flanges for rust, cracks, or stripped bolts. Bolts should be tight and secure. Loose or damaged flanges can cause wobbling and unsafe driving conditions.
Inspecting Components
Reinstalling the rear drive shaft on your Jeep Wrangler needs care and attention. Proper steps ensure smooth operation and avoid damage. Follow these simple tips to align and secure the shaft correctly. This helps keep your Jeep running safely and efficiently.
Aligning The Shaft
Start by positioning the drive shaft carefully between the transmission and axle. Make sure the u-joints match the yoke openings exactly. Misalignment can cause vibration and premature wear. Rotate the shaft slowly to find the correct fit. Check both ends for even alignment before tightening any bolts.
Tightening Bolts Properly
Use a torque wrench to tighten all bolts to the Jeep’s specified settings. Hand-tightening is not enough and can lead to loose parts. Tighten bolts in a crisscross pattern for even pressure. Double-check each bolt after the initial tightening. Proper torque prevents damage and keeps the drive shaft secure during off-road driving.

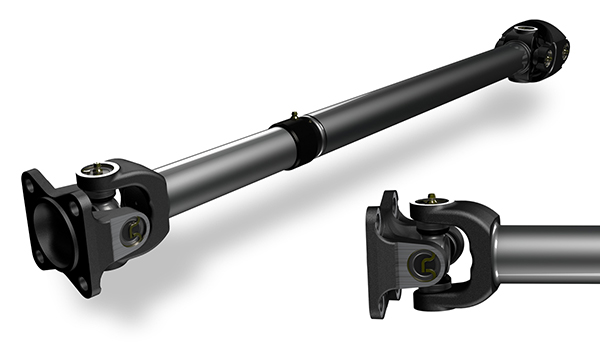
Credit: wranglertjforum.com
Frequently Asked Questions
How To Safely Remove A Drive Shaft?
Secure the vehicle and place a fluid catch basin under the shaft. Unbolt the U-joint bolts firmly. Gently pry the shaft from the yoke. Avoid forcing parts to prevent damage. Inspect all components before reinstalling.
What Year To Avoid A Jeep Wrangler?
Avoid Jeep Wrangler models from 2007 to 2011 due to frequent complaints, recalls, and engine issues. Later models show improvements.
Where Is The Secret Compartment On The Jeep Wrangler?
The Jeep Wrangler’s secret compartment is under the rear seat on the passenger side. Lift the seat cushion to access it.
How To Remove Drive Shaft From Rear Axle?
Secure the rear axle with lifting straps. Remove shock hardware and unbolt the driveshaft flange. Use a pry bar to detach the U-joint from the transfer yoke. Carefully lower and remove the driveshaft from the rear axle.
Conclusion
Removing the rear drive shaft on a Jeep Wrangler is simple with the right steps. Take your time and follow each part carefully. Use proper tools to avoid damage and ensure safety. Checking the universal joints before and after helps prevent future issues.
With patience, this task becomes manageable even for beginners. Regular maintenance keeps your Jeep running smoothly and extends its life. Keep this guide handy for any future repairs or upgrades.