Jeep Wrangler Radio Replacement Cost: All You Need to Know
The rumbling noise from your Jeep Wrangler’s radio doesn’t match the class of the vehicle. Indeed, if you invite any of your friends or family member in your car and they find issues with the radio, damn, there goes your prestige! So why don’t you change the radio when it is not working well?
Are you wondering how much your jeep wrangler radio replacement costs? It is around $400-$1000, depending upon the model and feasibility of the radio. The more technology in it, the more price it will cost. Also, the better it will serve you, the more convenient you’ll feel using it.
Now the cost is known, but how will you replace the radio? Well, it might sound complicated, but you do not need to go to any mechanic for that. Also, it is a concern to know when your radio needs replacement. You’ll do that all by yourself surely after reading the article here.
Table of Contents
Jeep Wrangler Radio Replacement Cost
The jeep wrangler is an expensive SUV in the market. Its components make the automotive that much more expensive. So, the radio of the vehicle becomes expensive and unique by default.
Remember, the model of your jeep wrangler will play a good part in the radio selection because not all the models can suit the same model well here. You must match them.
Any cost of around $400-$800 would be significant for your car. As per the reports and findings, we suggest you look into this chart to get an overview of the price.
| Product | Connectivity | Display | Screen Size | Price |
| 1. Insane Audio Fits 2018-2020 | Wi-Fi and Bluetooth | Hi-Def Touch Display | 9 inches | $1,460 |
| 2. STINGER STH10JK | Bluetooth, USB, HDMI | LCD | 6.2 inch | $1,150 |
| 3. IYING B08BFN6K7S | Bluetooth, Cellular, Wi-Fi | LCD | 10.1 Inches | $550 |
| 4. SWTNVIN B07WFGQKHZ | Bluetooth, Auxiliary, Wi-Fi, USB | LD Capacitive Touch Screen | 6.2 Inches | $290 |
| 5. MekedeTech B08X1J7FRD | Wi-Fi | LCD | 6.2 Inches | $255 |
| 6. Pioneer MVH1400NEX | USB | LED | 6.2 Inches | $550 |
| 7. AWESAFE AS-US-M3Je | Bluetooth, Auxiliary, USB | LCD | 6.2 Inches | $200 |
Jeep Wrangler Radio Connectivity
Now you know the technological feasibility of the radio as per their models. Knowing their limitations and usage is essential as well. Let’s start connecting with their offerings so that you can choose the best one with advanced connectivity.
- Bluetooth: The radio will connect to your phone by Bluetooth. Just search the Bluetooth panel and pair it up with your device. Even laptops can be connected to the radio through Bluetooth. The range offering is short, so don’t go much ahead from your radio connected to your phone.
- Wi-Fi: Wi-Fi will allow your radio to connect to the internet. And obviously, you’ll have to make the connection via your phone hotspot. There, you can enjoy all the due facilities. You’ll find the range too extensive for the connection.
- Cellular connections will allow you to know your navigation better out there. Additionally, your incoming calls and messages can be portrayed through the screen.
- USB-HDMI: These are cable facilities. USB is standard nowadays to connect with phones. And HDMI is for connecting laptops with your car radio. Both the connections are wired and kind of short-range restricted.
- Auxiliary: Auxiliary or Aux is the most common connection medium. A 3.5 mm jack that will plug any headphones of that range. With that, you can even connect to external speakers or other devices.
Time to Replace Your Radio in Jeep Wrangler
To be very honest, we believe there isn’t any specific time to keep in mind for changing your radio in Jeep Wrangler. There should never be! It all comes down to how well you have kept them.
Sometimes, the more you ride, the more pressure on the radio system is exerted. The pressure is negligible. It’s all-natural by the system of the car. You can’t count entirely on it or change your radio based on the coverage.
However, the only time we find the urgency to change the radio of your jeep wrangler is when it tells you to do so. Look at the signs here that’ll tell you to change the radio. How does it tell?
Ineffective Speaker
When you don’t get your speaker sounding well or like typical days, you must consider changing it. It does happen after a particular time, but there isn’t any specific time for that.
Likewise, if you touch the speaker, you’ll find that the speaker’s vibration doesn’t feel like usual. Only the sound comes, and you get to hear the voices only. That’s when you can think of making the change there.
Connectivity Issue
Listening to music and getting interruptions must’ve been painful, right? That’s another sign of a lousy radio in your car. For Bluetooth connections, you’ll find sudden interruptions in the connections between your phone and the radio.
You’ll see sound scattering for wired ones if you move the wire from the connecting point. A lot might also happen, like you won’t be getting the connection from the initial stage.
Bad Sound Quality
You will feel it; you will feel the downgrade of your radio’s sound coming out from the speaker. It will have some sort of gurgling noise, disrupting and interrupting the music or whatever you hear.
Sometimes, you might even hear a delay in the music or hearing from the speaker. That’s precisely when you’ll realize you have no option but to change the radio and get the one within your budget.
Switches and Other Stuff Don’t Work
This is one of the most disturbing things. Like you are trying to stop the music or the radio or trying to jump to the next or previous song, but the button isn’t working. That’s one of the signs that your radio has become damaged.
However, there might be issues with the switches, which can be resolved if you change them. But most of the time, your radio commands to regulate the problem here.
How to Replace the Radio in Jeep Wrangler?
Trust me; this won’t take much time. Yes, most of you must’ve been thinking of going to the mechanics to change the radio. But once you get to know the procedure, you’ll laugh that you’d planned to spend additional money for radio fixation.
But before that, you’ll need some additional tools for fixation like:
1. T20 Torx driver
2. T30 Torx driver
3. Socket wrench
4. Screw Driver
5. Panel tool
6. Narrow nose plier
7. Narrow nose plier
Let’s get to know them via some simple steps. It’ll cost you a maximum of 30 minutes at best. If you are good with the devices, you’ll be done in 10-15 minutes.
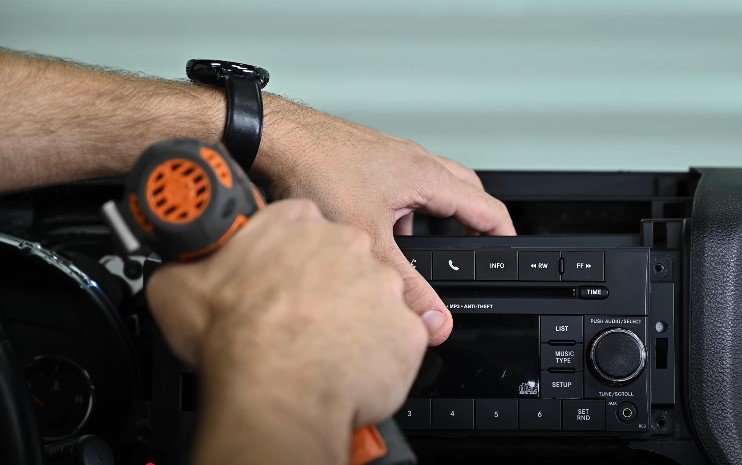
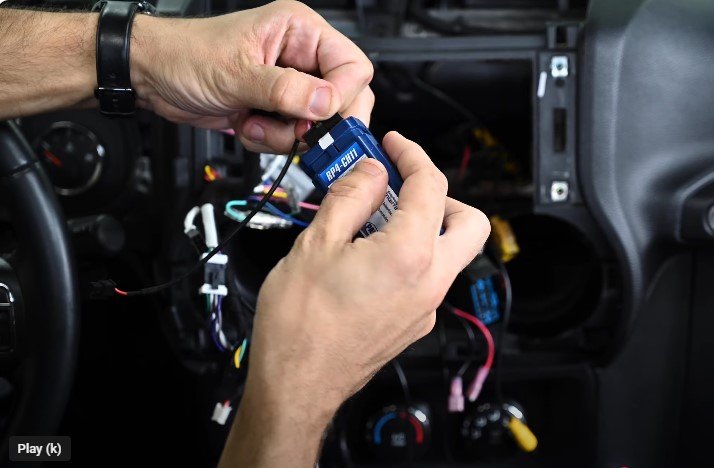
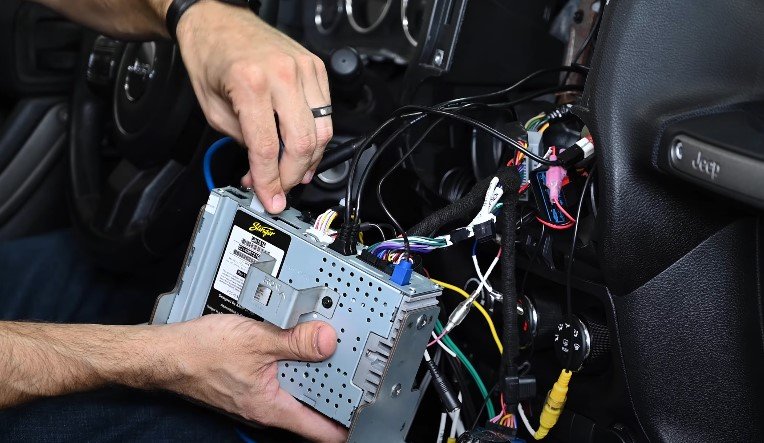
Step 1: Change the Head
Get the screws out from the top and beneath the stereo. It will loosen up the head for a good change. Behind the head, you’ll find a switch tray. You have to disconnect that as well.
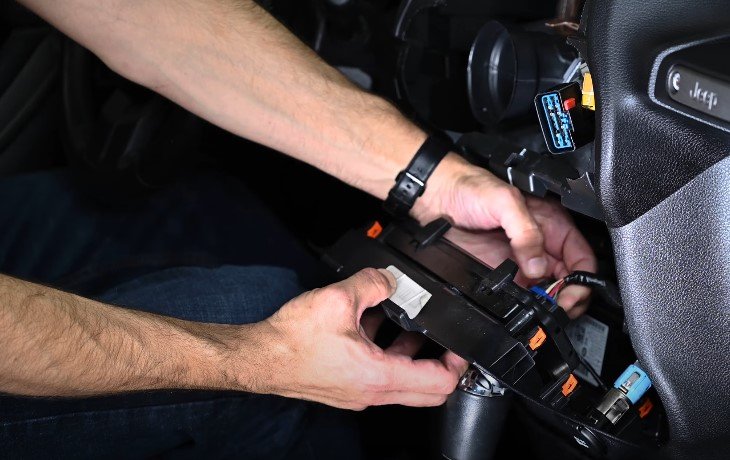
You’ll find two screws restraining you from making the change there. They’re on both sides of the unit. Loosen them as well.
A total of four screws are opened up from the head unit, which makes it entirely convenient for you to get it detached from the spot. Don’t forget to unhook the cables behind the head unit. You should do it carefully.
Step 2: Remove the Front Speakers
Before you go on to remove the front speakers, remove the side panels and dash panels first. For the glove box, just give a sliding sidewise, and you’ll find it open in no time.
Now the speaker. Remove the instrument panel, and you’ll get the speaker removable. Rotate the speaker downwards, and you can altogether remove it from that spot.
Then remove the cables. Be careful while removing them. Also, count on the screws you’ll get from the whole operation. That’ll be needed for the installation as well.
Step 3: Removing Other Speakers and Tweeters
As soon as you remove the front speaker, the rest of the job will be done in no time. That front speaker was the main obstacle. Phew! You got it alright there.
After removing the front speaker, you’ll see the tweeter popping up. You just need to disconnect it and replace it accordingly later.
And for the other side or bar speakers, you’ll see them connected by some screws. Just unscrew them and loosen them. That’s it; you’ll be done there correctly with no obstacles.
Final Words
You realize that the jeep wrangler radio replacement cost lowers a lot when you are aware of the parts and their essential parts. You already know how you can install it in your car. So, by default, you know the parts interconnected with the radio.
Again, it is better to use a radio with wi-fi and Bluetooth feasibility. You would never want a wire consistently connecting with your phone in the back corner. After all, it’s Jeep Wrangler you are using! So, just pave the way with the technology.