Jeep Wrangler 4 Door Rear Seat Removal: Easy Step-by-Step Guide
 Reading Time: 8 minutes
 Removing the rear seat from a Jeep Wrangler 4 Door is a common task for owners who need more cargo space or want to install custom equipment. Many beginners feel unsure about the process, but it’s easier than you might think. With the right tools and a bit of patience, you can remove the back seat safely in less than an hour. This guide explains everything step by step so even first-timers can do it confidently.
Extra cargo space is one of the main reasons people take out the rear seat. Whether you want to pack for a long camping trip, transport large items, or make your Wrangler feel more open, removing the seat gives you flexibility.
You also protect the seat from damage if you plan to carry bikes, dogs, or heavy equipment.
If you’ve never worked on a Jeep before, don’t worry. This article covers the key points, tools, and safety tips you need. By the end, you’ll know exactly how to remove the rear seat, avoid common mistakes, and handle reinstallation if you ever want to put it back.
Why Remove The Rear Seat In A Jeep Wrangler 4 Door?
Many Jeep owners decide to remove the rear seat for practical reasons. Here are the most common:
- More cargo space: Without the seat, you can transport larger or longer items.
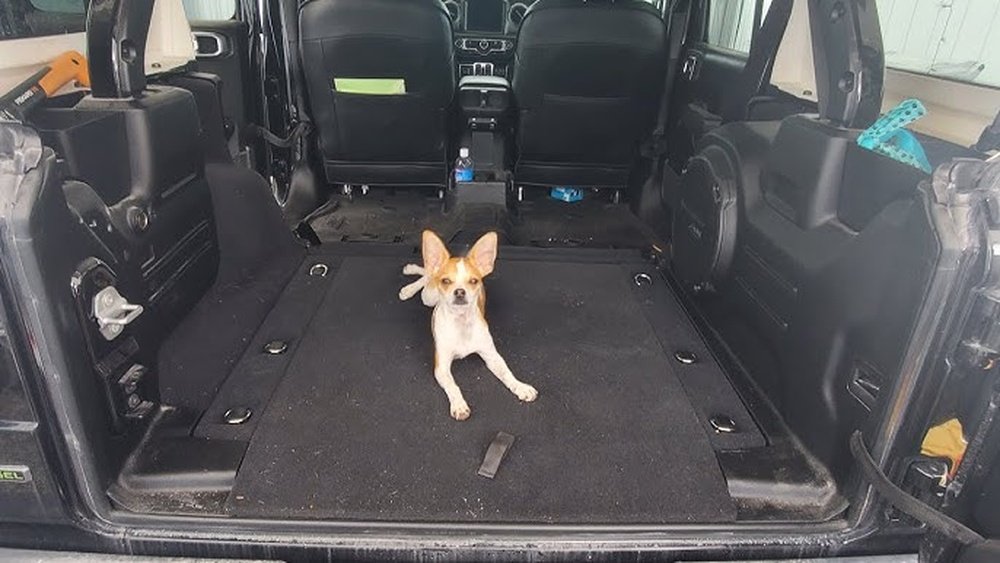
- Pet-friendly setup: Dogs have more room to move, and you can install protective liners.
- Easier cleaning: Mud, sand, and dirt are easier to clean out with the seat gone.
- Custom storage or equipment: Some people add drawer systems, refrigerators, or camping gear.
Example: A family going on a cross-country road trip removed the rear seat to fit coolers, bags, and camping supplies. The trip was more comfortable, and the seat was safe at home.
Tools And Preparation
Before you start, gather the right tools and prepare your workspace. This makes the process smoother and prevents mistakes.
Tools Needed
- Socket wrench set (mainly 18mm and 15mm sockets)
- Torx bit set (T50 is common for some bolts)
- Flathead screwdriver
- Protective gloves
- Ratchet extension (optional, for hard-to-reach bolts)
- Plastic trim removal tool (to avoid scratching trim)
Preparation Steps
- Park on level ground and set the parking brake.
- Remove floor mats or anything in the rear footwells.
- Fold down the rear seatbacks to access all bolts.
- If possible, have a friend help—seats can be heavy.
Tip: Take photos of each step with your phone. This helps when reinstalling the seat later.
Understanding The Rear Seat Design
The Jeep Wrangler 4 Door (JK, JL, and newer models) has a split rear seat. The left side is wider (60%) and the right side is narrower (40%). Both sections are anchored with bolts at the floor and sometimes at the seatbacks. Some models have a single bench.
Key facts:
- Most Wrangler 4 Door models use Torx or hex bolts.
- Seatbelt buckles are attached to the seat frame.
- The seat is heavy—usually 45 to 60 lbs.
Data Table: Common Bolt Types by Wrangler Model
| Model Year | Main Bolt Type | Seat Weight (lbs) |
|---|---|---|
| 2007-2017 (JK) | 18mm Hex/ T50 Torx | 55 |
| 2018-2024 (JL) | 15mm Hex/ T50 Torx | 48 |
| 2021-2024 (4xe) | 18mm Hex | 60 |
Step 1: Folding And Preparing The Rear Seat
The first step is to fold the seatbacks and prepare the area.
- Unlock the seatbacks: Pull the release strap or lever on the side of each seatback.
- Fold both seatbacks flat: Make sure they lay completely down.
- Clear the area: Remove anything under the seat or on the floor.
- Locate all bolts: Check the front and back of the seat base.
Insight: Many beginners forget to clear all small items, which can get trapped during removal.
Practical tip: If you have a child seat, remove it before starting. The anchor points can block access to some bolts.
Step 2: Unbolting The Seat Base
Now you will remove the bolts that secure the seat to the Jeep’s floor. This is the most hands-on part.
How To Locate The Bolts
- Look for bolts at the front corners of the seat base.
- Some models have bolts at the rear corners, too.
- You may need to slide the seatbacks up slightly to see all bolts.
Removing The Bolts
- Use the correct socket or Torx bit. Most use 18mm or T50.
- Turn the wrench counterclockwise to loosen each bolt.
- Keep bolts in a safe container for reinstallation.
- If a bolt is stuck, apply a bit of WD-40 and wait a few minutes.
Example: On a 2019 Wrangler JL, there are two bolts in the front and two in the back of each seat section.
Data Table: Typical Number of Bolts by Model
| Model | Front Bolts | Rear Bolts |
|---|---|---|
| JK 4 Door | 2 | 2 |
| JL 4 Door | 2 | 2 |
| 4xe 4 Door | 2 | 2 |
Non-obvious insight: Some models have a wiring connector for heated seats under the base. Always check before lifting the seat out.
Step 3: Disconnecting Wiring And Seatbelt Attachments
Before you lift the seat out, check for any wiring or seatbelt connectors.
- Heated seat wiring: Look for a plug under the seat. Press the tab to release it.
- Seatbelt buckles: Some are bolted to the seat frame. Use a socket to remove if needed.
- Sensor wires: Newer models may have airbag or occupancy sensors.
How To Disconnect Safely
- Gently pull connectors—never yank.
- If unsure, check your owner’s manual for wiring diagrams.
- Keep connectors clean and dry.
Example: On a Wrangler JL, heated rear seats have a single connector under the right seat section.
Tip: Tape loose wires to the floor with painter’s tape to avoid rattling or damage.
Data Table: Common Rear Seat Wiring
| Feature | Common Location | Disconnection Needed? |
|---|---|---|
| Heated seats | Under seat base | Yes |
| Occupancy sensor | Under left seat | Sometimes |
| Seatbelt buckle | Side of seat frame | Yes |
Non-obvious insight: Disconnecting wiring with the battery connected can trigger warning lights. For extra safety, disconnect the negative battery terminal before unplugging sensors.
Credit: www.goose-gear.com
Step 4: Lifting And Removing The Rear Seat
With all bolts and wires detached, you’re ready to lift the seat out.
Lifting Tips
- Seats are bulky—get a helper if possible.
- Lift straight up and out to avoid scratching interior trim.
- Tilt the seat slightly if it catches on the door frame.
Removing Each Section
- Remove the smaller (40%) section first. It’s lighter and gives you more room for the larger part.
- For one-piece benches, lift from both sides evenly.
Example: On a 2020 Wrangler Unlimited, two people can remove both sections in under 15 minutes.
What To Do Next
- Store the seat in a dry, safe place. Cover with a blanket to protect the upholstery.
- Vacuum the exposed floor area—this is a great time to clean under the seat.
Practical tip: Mark each bolt with tape for easy reinstallation. Many beginners mix up bolt locations.
Reinstalling The Rear Seat
Reinstalling is just the reverse of removal, but there are a few things to watch out for.
- Align mounting holes carefully before tightening bolts.
- Reconnect any wiring before bolting the seat down.
- Tighten bolts firmly but avoid over-tightening (check your manual for torque specs).
- Test seatbelts and latches to make sure everything works.
Example: Most Jeep manuals recommend 30–35 ft-lbs torque for seat bolts.
Mistake to avoid: Missing a wiring connector is a common reason for airbag lights or seat heaters not working.

Credit: www.reddit.com
Safety And Legal Considerations
Removing the rear seat changes how you can use your Jeep.
- Passenger limits: You can legally carry only as many people as there are seatbelts.
- Child seats: You cannot safely install a child seat without the rear bench.
- Insurance issues: Some insurance policies may not cover injuries if you alter factory seating.
Tip: Always keep the seat and bolts in case you need to reinstall for inspection or resale.
For more on safety and legal use, see the NHTSA guidelines.
Common Mistakes And How To Avoid Them
- Losing bolts: Always use a container or bag for hardware.
- Damaging trim: Use plastic tools, not metal screwdrivers, to pry parts.
- Forgetting wiring: Double-check for connectors before lifting the seat.
- Mixing up bolts: Mark with tape or keep a written note.
Example: A beginner once stripped a Torx bolt by using the wrong size. Always check tool sizes before starting.

Credit: www.youtube.com
Custom Uses For The Extra Space
After removing the rear seat, you can use the space in creative ways:
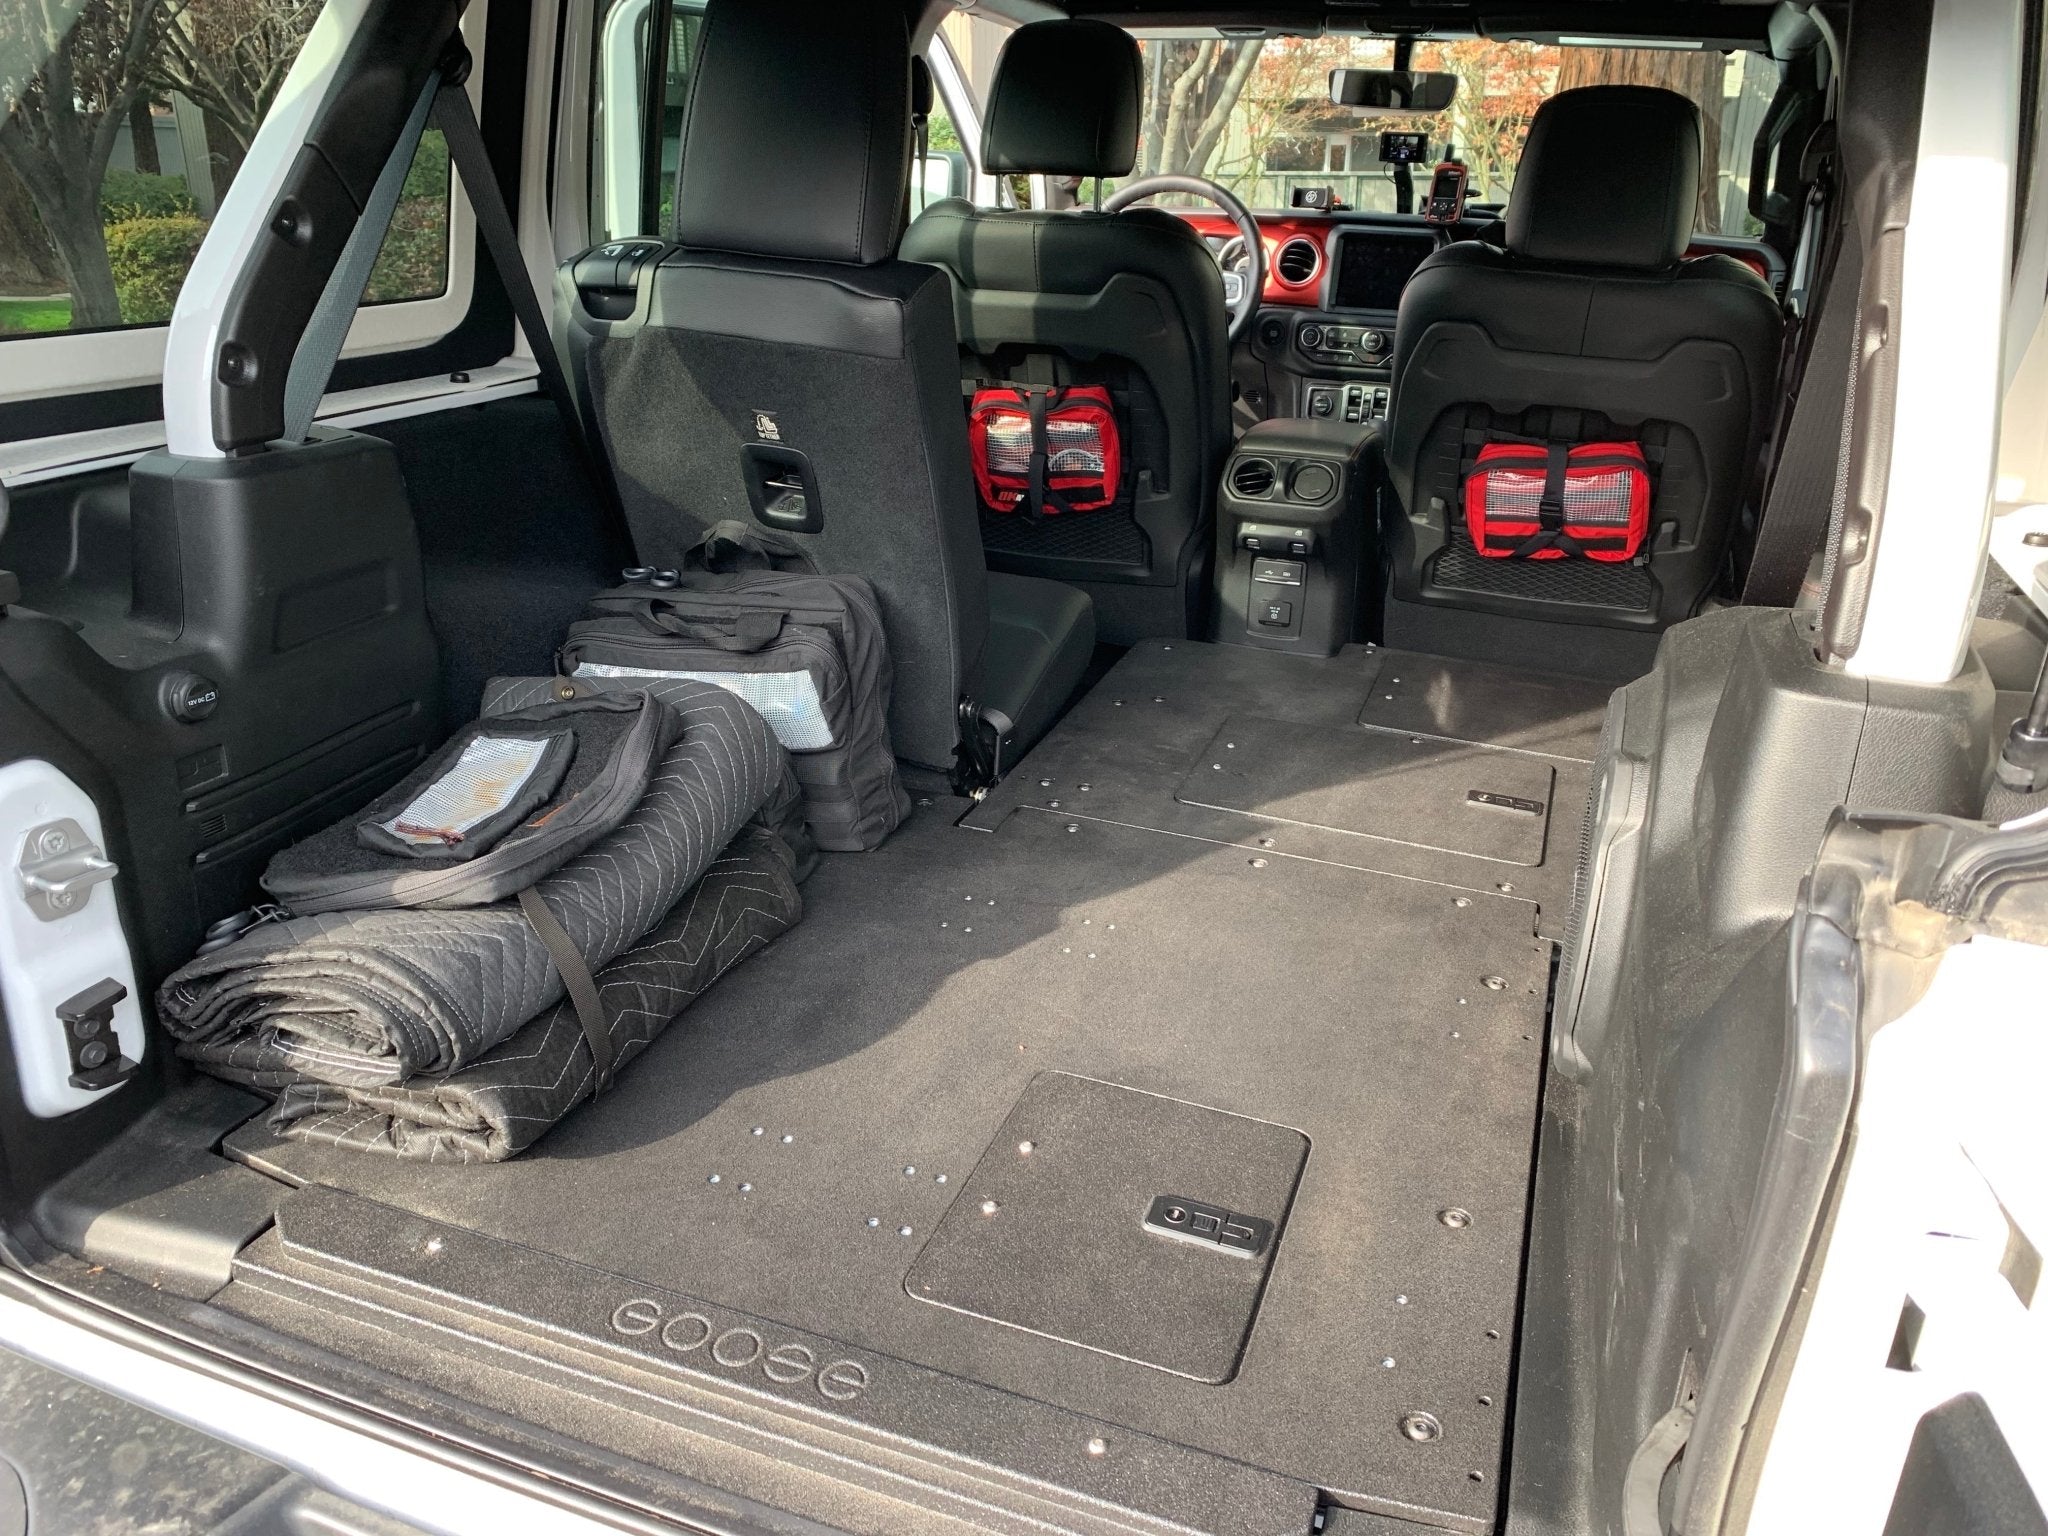
- Install a cargo platform for bikes or camping gear.
- Add a pet barrier for safer travel with dogs.
- Use for overlanding gear like fridges, water tanks, or drawer systems.
- Temporary bed setup for camping.
Tip: Removable cargo liners help keep the floor clean and make it easy to switch back to seats.
Frequently Asked Questions
How Long Does It Take To Remove The Rear Seat In A Jeep Wrangler 4 Door?
For most people, it takes about 30–45 minutes. If you’re new, give yourself an hour. Having the right tools and a helper makes it faster.
Do I Need Special Tools For Removing The Rear Seat?
You only need basic tools like a socket wrench and Torx bit set. Check your Jeep’s manual for the exact sizes, but 18mm and T50 are the most common.
Will Removing The Rear Seat Affect My Jeep’s Warranty?
Removing the seat usually doesn’t void the warranty if you reinstall it properly. But if you damage wiring or sensors, it might affect coverage. Always keep the seat and hardware for future use.
Is It Legal To Drive Without The Rear Seat Installed?
It is legal in most areas if you only carry as many passengers as you have seatbelts. But always check your local laws and make sure all wiring is safe.
Can I Reinstall The Seat Myself Later?
Yes, you can reinstall it at any time. Just reverse the steps, align the bolts, reconnect wiring, and test all seat functions. Take your time to avoid missing any steps.
Removing the Jeep Wrangler 4 Door rear seat is a simple way to unlock more utility from your vehicle. Whether you need cargo space for a big trip or want a unique setup for your lifestyle, following these steps makes the process safe and beginner-friendly. Take care with bolts, wiring, and safety—then enjoy the new possibilities your Wrangler offers.